/
UDM Server Install Guide
UDM Server Install Guide
- Chris Clark
- Adam Bryzak (Unlicensed)
- Ken Lasko (Unlicensed)
Owned by Chris Clark
Last updated: Oct 16, 2019
Before starting the installation please ensure your server meets the minimum hardware requirements shown in the UDM Pro Server Guide
Installation Step-by-Step
The Step-by-Step installation is provided for users who need the additional assistance or in the event you have problems with the default install.
Set up SQL Server:
We recommend a default installation of SQL Server is done or creating a new instance on an existing SQL Server. You will require SQL Server Management Studio to complete the setup.
Once you have SQL installed complete the following steps to prepare SQL for UDM Pro:
- Launch SQL Server Management Studio on your SQL Server machine.
- Login using a database account that has database creation privileges.
- Create a new Database called UDMPro and leave the Owner as <default>.
- Right Click on the Databases folder and select New Database
- Set the Database name to UDMPro
- Do not set anything else and click OK
- Create a SQL Server account (not a Windows or Active Directory account) which will be used to login to the server.
- Right Click the top-level Security folder, point to New and select Login
- Select SQL Server Authentication
- Set the Login name to UDM_USER and choose a password
- Uncheck User must change password at next login
- Optionally Uncheck Enforce password expiration, Enforce password policy
- Select the Server Roles page. Only "public" should be selected.
- Select the User Mapping page.
- Tick the Map box next to the UDMPro database.
- In the Membership page select db_owner.
- Click OK
UDM Pro Installation:
Important
It is important that you make sure you have a valid UDM Pro license before you start the installation of UDM Pro. If you do not have one please contact Enoten.
- Download the latest UDM Pro installation files from https://www.enoten.com/download#udm-dl
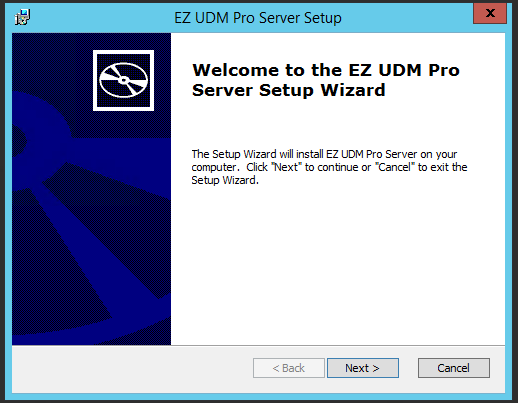
- Run the installer on the server set up for the application.
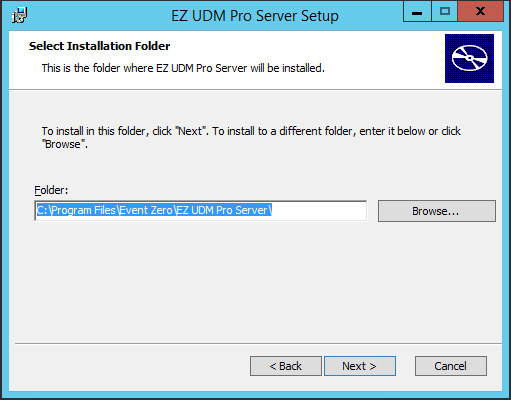
- Click next and select the folder where you would like UDM Pro to be installed, by default the application is installed under: C:\Program Files\Event Zero\UDM Pro Server\
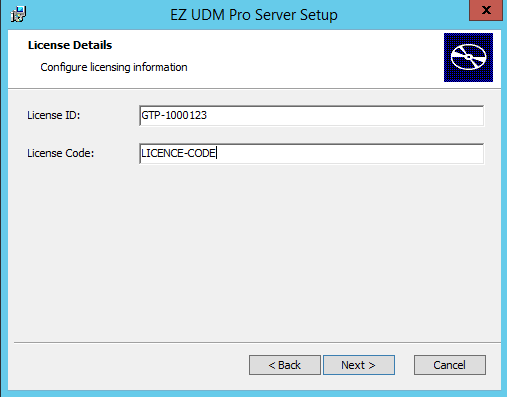
- Click Next and enter the License ID and Code provided by Enoten. (Contact Enoten if you do not have one yet).
- Click Next and enter the Database details created earlier.

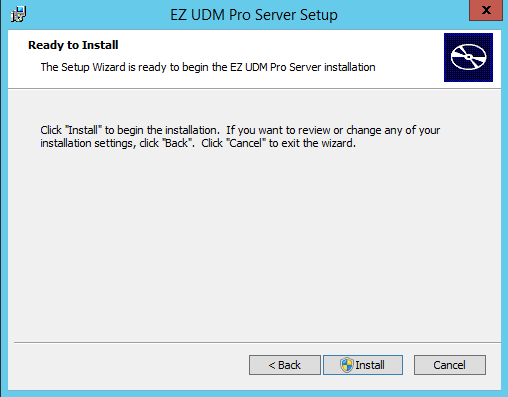
- Test the SQL Connection and then click Next. In the next page Click "Install"
- Step through the installation and click finish once its done.
- UDM Pro should start up in a few minutes after the installation has finished. You can verify this by opening a browser window and navigating to localhost on the server. You should see the UDM Pro login screen.
If the browser does not load the logon page then check that the tables have populated in SQL Server Management Studio. You can also check the server.log file in C:\ProgramData\Event Zero\UDM Pro Server\logs - The next step is to install the Bridge server UDM Pro Bridge Guide
, multiple selections available,
Related content
UDM Pro Server Upgrade Guide
UDM Pro Server Upgrade Guide
More like this
UDM Pro Server Guide (for On-Premise Users only)
UDM Pro Server Guide (for On-Premise Users only)
More like this
UDM Pro Bridge Upgrade Guide
UDM Pro Bridge Upgrade Guide
More like this
UDM Pro Server Debugging
UDM Pro Server Debugging
More like this
Unified Device Manager Documentation
Unified Device Manager Documentation
More like this
Enable SSL on UDM Pro Server (On-Prem)
Enable SSL on UDM Pro Server (On-Prem)
More like this