IMPORTANT: The installation process has changed in the latest versions and the process is slightly different to the video, please refer to the notes below for the differences.
| Widget Connector | ||||||
|---|---|---|---|---|---|---|
|
Before installing the Bridge software check the server meets the minimum requirements in the UDM Pro Bridge Guide
...
UDM Pro Bridge installation
- Download the latest EZ UDM Pro Bridge installation files from https://www.enoten.com/download#udm-dl
- Run the installer on the server set up for the Bridge. You may get prompted with a UAC box click yes to proceed.
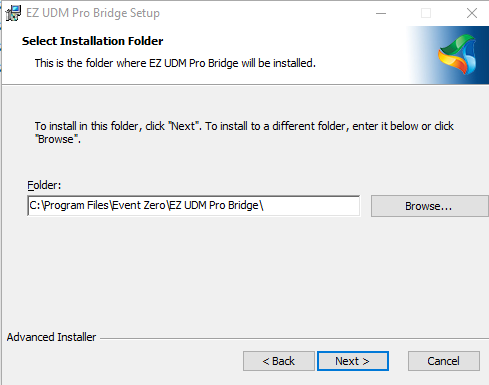
- Click Next and select the Folder you would like the bridge to be installed in. By default it is installed in C:\Program Files\Event Zero\EZ UDM Pro Bridge\
- Complete the installation process and click Finish.

- When the installation is complete you will have the option to Lauch Launch the EZ UDM Pro Configuration Manager leave this ticked and click Finish.
...
- Manual setup of each phone either on the device itself or through the web browser to it. This is usually done only for initial testing due to the manual process involved. For details of this process see Setting up a VVX phone for Provisioning without DHCP
- Polycom devices are primarily designed to work with DHCP for provisioning and this is the method you would use for live deployment. The next section briefly describes how this works.
Setting up DHCP to work with Polycom Devices
The purpose of this is to outline the step to setup DHCP for the provisioning of your devices. Due to the number of different DHCP systems it is not aimed at explaining the process in a specific DHCP implementation.
...