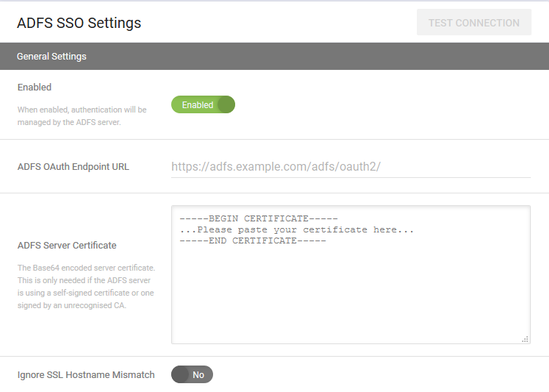
On your UDM Pro tenant under Settings, ADFS SSO Settings
- Select enabled
- ADFS OAuth Endpoint URL. This should be something like https://adfs.company.com/adfs/oauth2
- Paste the Base64 ADFS Server certificate. The CER of your ADFS certificate.
In ADFS.
1: Create a relying party trust called UDM Pro. In Select Data Source choose ‘Enter Data about your relaying party manually
2: Display Name: UDM Pro
3: AD FS profile (SAML 2.0)
4: No need to configure an encryption certificate (next).
5: No need to configure a URL (next).
6: Relying party trust identifier: This is your UDM Pro login URL, so https://tenant.enoten.com/login Add.
7: No need to configure multi-factor auth settings ‘I do not want to configure…’ (next).
8: Permit all users access
9: Finish, The ‘Open edit the claim rules’ checkbox should be selected.
10: Add rule, select ‘Send LDAP attributes as claims’. (nex
11: Claim rule name: LDAP Attributes.
12: Attribute store: select Active Directory
13: Under LDAP Attribute select ‘User-Principal-Name’ from the drop-down: Under Outgoing Claim Type select ‘Name ID’ from the drop-down.
Under LDAP Attribute select ‘Token-Groups - Unqualified Names’ from the drop-down. Under Outgoing Claim Type select ‘Group’ from the drop-down.
In PowerShell:
Add-AdfsClient -Name "UDM Pro" -ClientId "udm-pro" -RedirectUri "https://tenant.enoten.com/login"
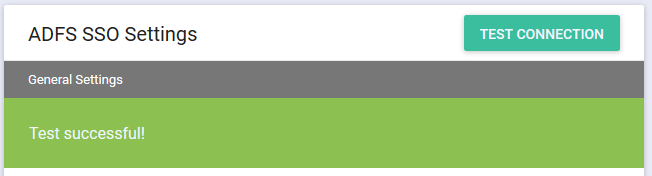
Return to ADFS SSO Settings in UDM Pro and click Test Connection. After a few seconds, this should return Test Successful
Next, you need to select the AD security group and the UDM Pro role you want to assign to it.
The group has to be an AD Security group otherwise UDM Pro will not be able to allocate the roles to the ADFS Users.
At the bottom of ADSF SSO settings in UDM Pro click +AD Group to select the AD group
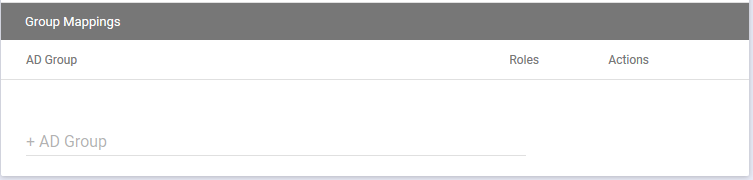
Next, you will be prompted to enter the Role for that AD group.
When you have added all the SSO settings click Save or Apply