For a mixed Polycom and Yealink environment review the differences at the bottom of this page.
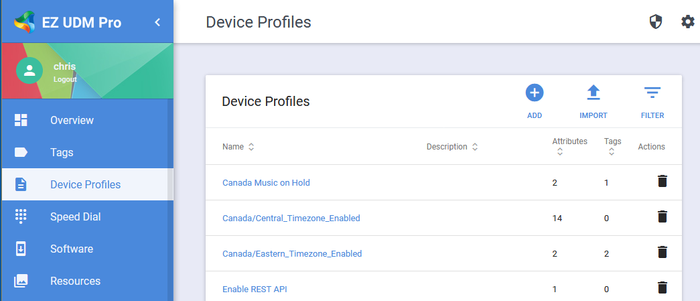
In Device Profiles, you create new device profiles and manage existing ones. Each Device Profiles is a collection of 1 or more XML attributes that can then be applied to a Tag. There are two different types of device profiles: Polycom Pre-Installed Defaults and User Created Profiles. When you install UDM Pro you will have the Polycom Pre-Installed Defaults available for use. The admin may choose to use them as is or modify the values to suit their needs. Note that UDM Pro supports ALL standard Polycom XML commands, which are parsed out during the firmware upload, but non-standard/user created commands are also supported.
Note: For assigning a device profile to a tag, see the section Tags. The device profile must exist prior to assigning it to a tag.

To add a device profile, do the following:
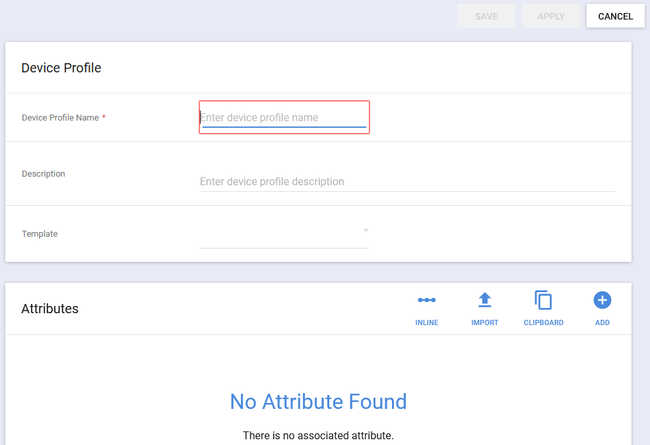
Tip! The name that you type here is what will be displayed in all subsequent configuration sections.
b. Optionally, fill in a description
Tip! We recommend using a description to define what this device profile is and what it does. Referring to the example, the description might be "Uses the resource file france_flag.png and applies to assigned phones."
c. Optionally Make this Device Profile a Template. Currently only an Auto Login Template is support more information can be found in the Templates section
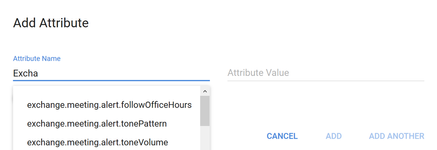
3. In the Attributes section add the required entries
Note! If you navigate to another selection in UDM Pro from the Device Profiles – Add New dialog page without saving your changes, you are warned that you are exiting the page without saving your changes. You are given the option to Cancel and return to the Device Profiles – Add New dialog or Proceed and discard the changes you have made. The same notification is displayed if you select (in the upper right corner) Cancel instead of Save to exit the page.
A function of good management is to delete items that you no longer need. To delete a device profile, do the following:
To edit a device profile click on the name of the profile in Device Profiles list. You are taken to the Device Profile detail screen:
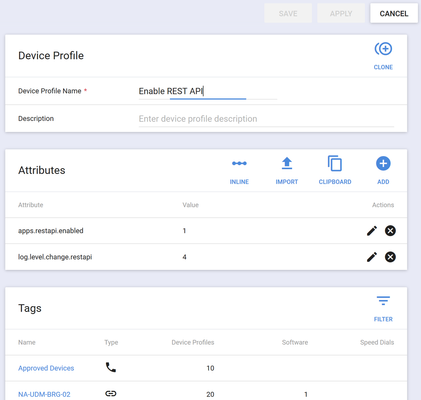
From this screen you can make a copy of the profile (clone), change the name of the Profile or its Description.
Clicking the clone icon ![]() will take a copy of the attributes in the Profile and open a new edit screen. You should name your profile appropriately and add a description before changing the attributes. When you clone the Profile none of the tags that were associated with the original come across. Note! We recommend using the clone function when you want to change one of the Polycom Provided Profiles. This way you keep the original template should you require it again.
will take a copy of the attributes in the Profile and open a new edit screen. You should name your profile appropriately and add a description before changing the attributes. When you clone the Profile none of the tags that were associated with the original come across. Note! We recommend using the clone function when you want to change one of the Polycom Provided Profiles. This way you keep the original template should you require it again.
The attributes in the Device Profile can be edited by clicking the pencil icon ![]() in the Actions column. Attributes can be deleted by pressing the delete icon
in the Actions column. Attributes can be deleted by pressing the delete icon ![]() in the actions column.
in the actions column.
Tags, described in the section Tags in this guide, are used in Device Profiles to associate a profile with any Location, Device Set, Model, or Bridge. Device Profiles can also be associated with the unique Global tag.
Tags are only displayed for reference. All tag management for associations, creation, deletion, and other management of tags functions is configured in the Tags selection.
To add a device profile, do the following:
On the Device Profiles page, click Add. When creating the profile for a mixed environment you will have the new Manufacturer dropdown. You can select that the profile is only for Polycom or only for Yealink.
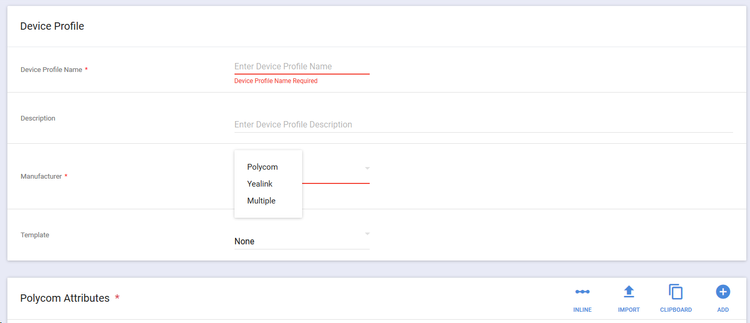
In addition there is a Multiple option with this you can add both Polycom and Yealink settings to a single Profile. This is the preferred option as the profile can then be added to a Tag and server the same purpose for both manufacturers device. An example would be the setting for your devices to poll for new configs; the setting for Polycom and Yealink are very different but by including them both in a single profile it is simple to manage. In the example below we can see two tabs one for Yealink with 4 attributes and one for Polycom with 5 attributes.
